
Enabling the welcome email
To begin:
1. Open the Email Marketing Plugin.
2. Navigate to Welcome Email.
3. Enable the welcome email status.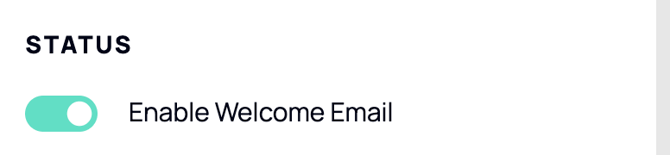
Configuring subscription options
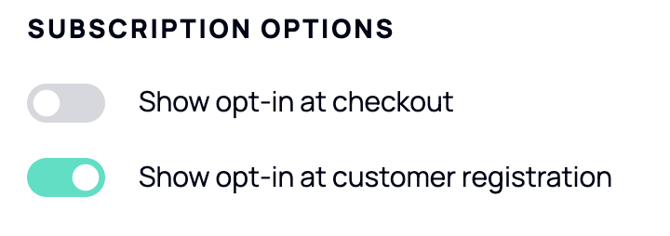
Subscription Options control whether customers see the email marketing opt-in message during checkout and customer registration.
Enable the relevant option if you want customers to see the opt-in message at checkout and at customer registration.
1. Find Subscription Options.
2. Enable the checkout option if customers should be able to opt in at checkout.
3. Enable the registration option if customers should be able to opt in when creating an account.
4. Save the configuration.
These settings control whether the opt-in message is shown. If an option is disabled, customers will not be offered that subscription route on the corresponding page.
Configuring the email details
Enter the subject line for the welcome email. The From name and From email are pulled from the defaults in Settings, but you can override them for this automation.
1. Enter the Subject.
2. Review the From name.
3. Review the From email.
4. Change the sender details if this email needs to use different values.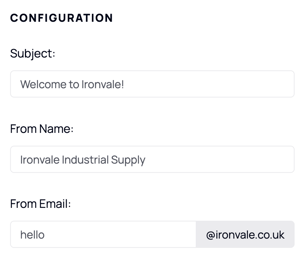
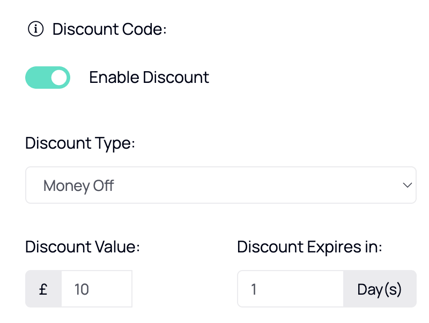
Configure an auto-generated Discount
Enable the discount option if you would like to include an auto-generated discount on your welcome email unique to each subscriber
Choosing welcome email triggers
Select the actions that should send a welcome email. The available triggers are:
- Popup completed
- Manual subscription
- Form completed
- Customer registration
- Checkout opt-in
You can enable the triggers that fit your customer journey, then save the configuration.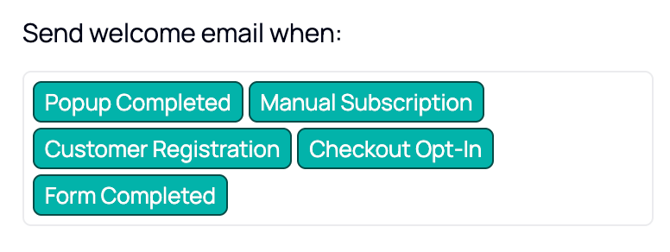
Popup completed: If a popup has been created in BlockLab, a welcome email can be sent when a customer opts in through that popup.
Manual subscription: When you add someone in the Subscribers area, the Send Welcome Email option defaults to your configuration. You can change the option for that subscriber before saving.
Form completed: Add an email input to a website form and enable subscriber capture. A customer who opts in through the form can then receive the welcome email.
Customer registration: If the registration opt-in is shown and the customer subscribes, the welcome email is sent after their account is created.
Checkout opt-in: If the checkout opt-in is shown and the customer subscribes, the welcome email is sent after they place their order.
Capturing a subscriber and sending a welcome email are separate choices. A source can add someone to your audience even when its welcome email trigger is not enabled.
Choosing the sending behaviour
Choose whether the welcome email should be sent only the first time someone subscribes or every time they subscribe.
- First time only: A subscriber receives no more than one welcome email.
- Every time: The welcome email is sent again if someone unsubscribes and later subscribes again.
Select the option that best matches your customer journey.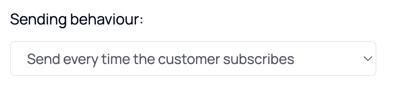
Designing the welcome email
To create the email itself:
1. Open the email designer.
2. Build the email from scratch or select an email template.
3. Review the content and layout.
4. Save the design.
5. Return to the welcome email configuration.
For detailed help with email content and layouts, refer to the email designer video tutorial.
Reviewing performance
The Welcome Email overview reports:
- Emails sent
- Opens
- Clicks
- Revenue
- Orders
- Subscribers
Use these figures to monitor how subscribers engage with the automation.