
Adding a subscriber manually
To add an individual subscriber:
1. Open the Email Marketing Plugin.
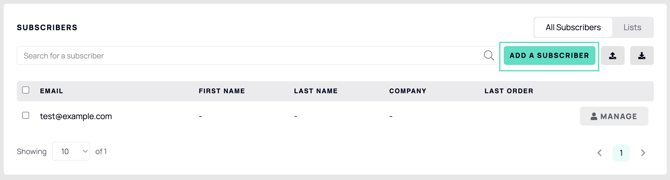
2. Navigate to Subscribers.
3. Add a new subscriber.
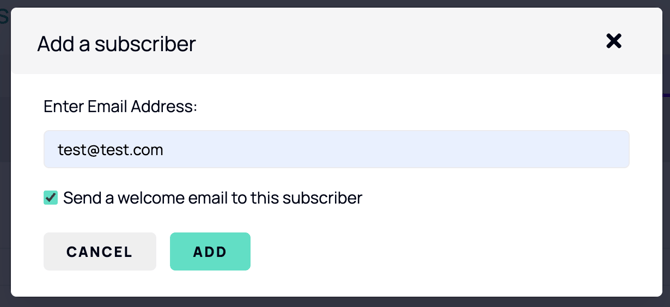
4. Enter the subscriber's details.
5. Choose whether to send a welcome email.
6. Save the subscriber.
The welcome email option may already be selected, depending on your welcome email settings for manual subscriptions. You can override the option before saving each subscriber.
Importing an existing subscriber list
If you are moving from another email marketing platform, you can import your existing subscribers in bulk.
1. Navigate to Subscribers.
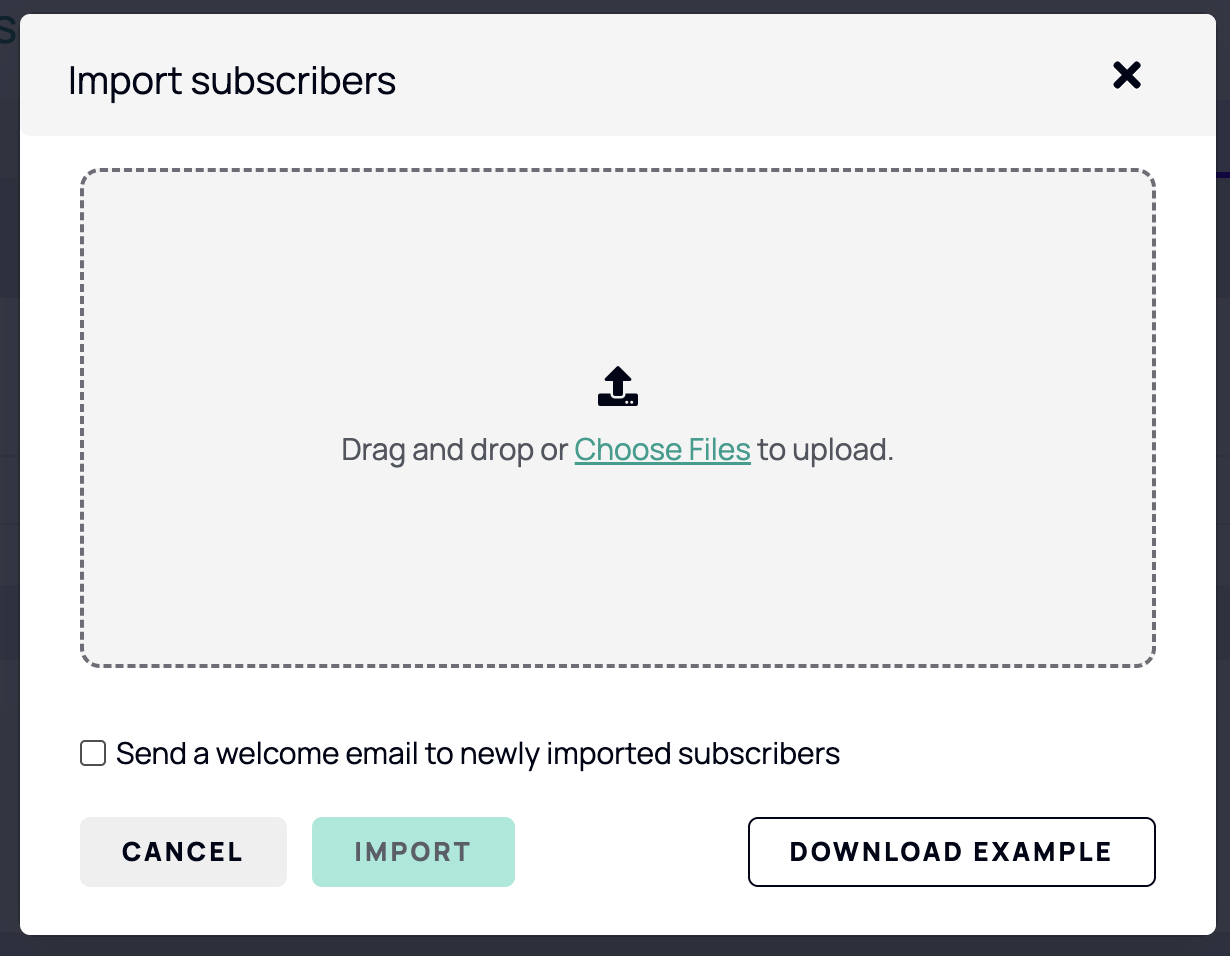
2. Choose the import option.
3. Select and import your subscriber list.
4. Review the welcome email option before completing the import.
If the contacts are already part of your audience, consider turning off the welcome email option. This prevents existing subscribers from receiving an unexpected welcome message during the migration.
Exporting subscribers
You can export your subscribers whenever you need a copy of your audience data.
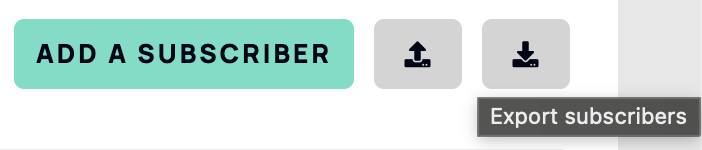
From the Subscribers area, select the export option and follow the prompts to download the subscriber data.
Creating a static list
A static list is a fixed group of subscribers that you manage manually. It changes only when you add or remove subscribers yourself.
To create a static list:
1. Open the lists area within the Subscribers tab.
2. Create a new list.
3. Give the list a descriptive name.
4. Select Static as the list type.
5. Save the list.
6. Add subscribers individually or import a larger group.
Static lists can also be exported whenever required.

Creating a dynamic list
Dynamic lists use rules to find matching subscribers automatically. Instead of selecting each subscriber yourself, you define the customer behaviour or order criteria that someone must meet.
To create a dynamic list:
1. Create a new list.
2. Give the list a descriptive name.
3. Select Dynamic as the list type.
4. Save the list.
5. Add one or more product purchase or order history rules.
6. Generate a preview to check the results.

Product purchase rules for Dynamic Lists
Product purchase rules can identify customers based on products they have bought. You can filter using:
- Brand name
- Category path
- Product name
- SKU
- Product tag
Available conditions include:
- Equals
- Contains
- Does not equal
- Does not contain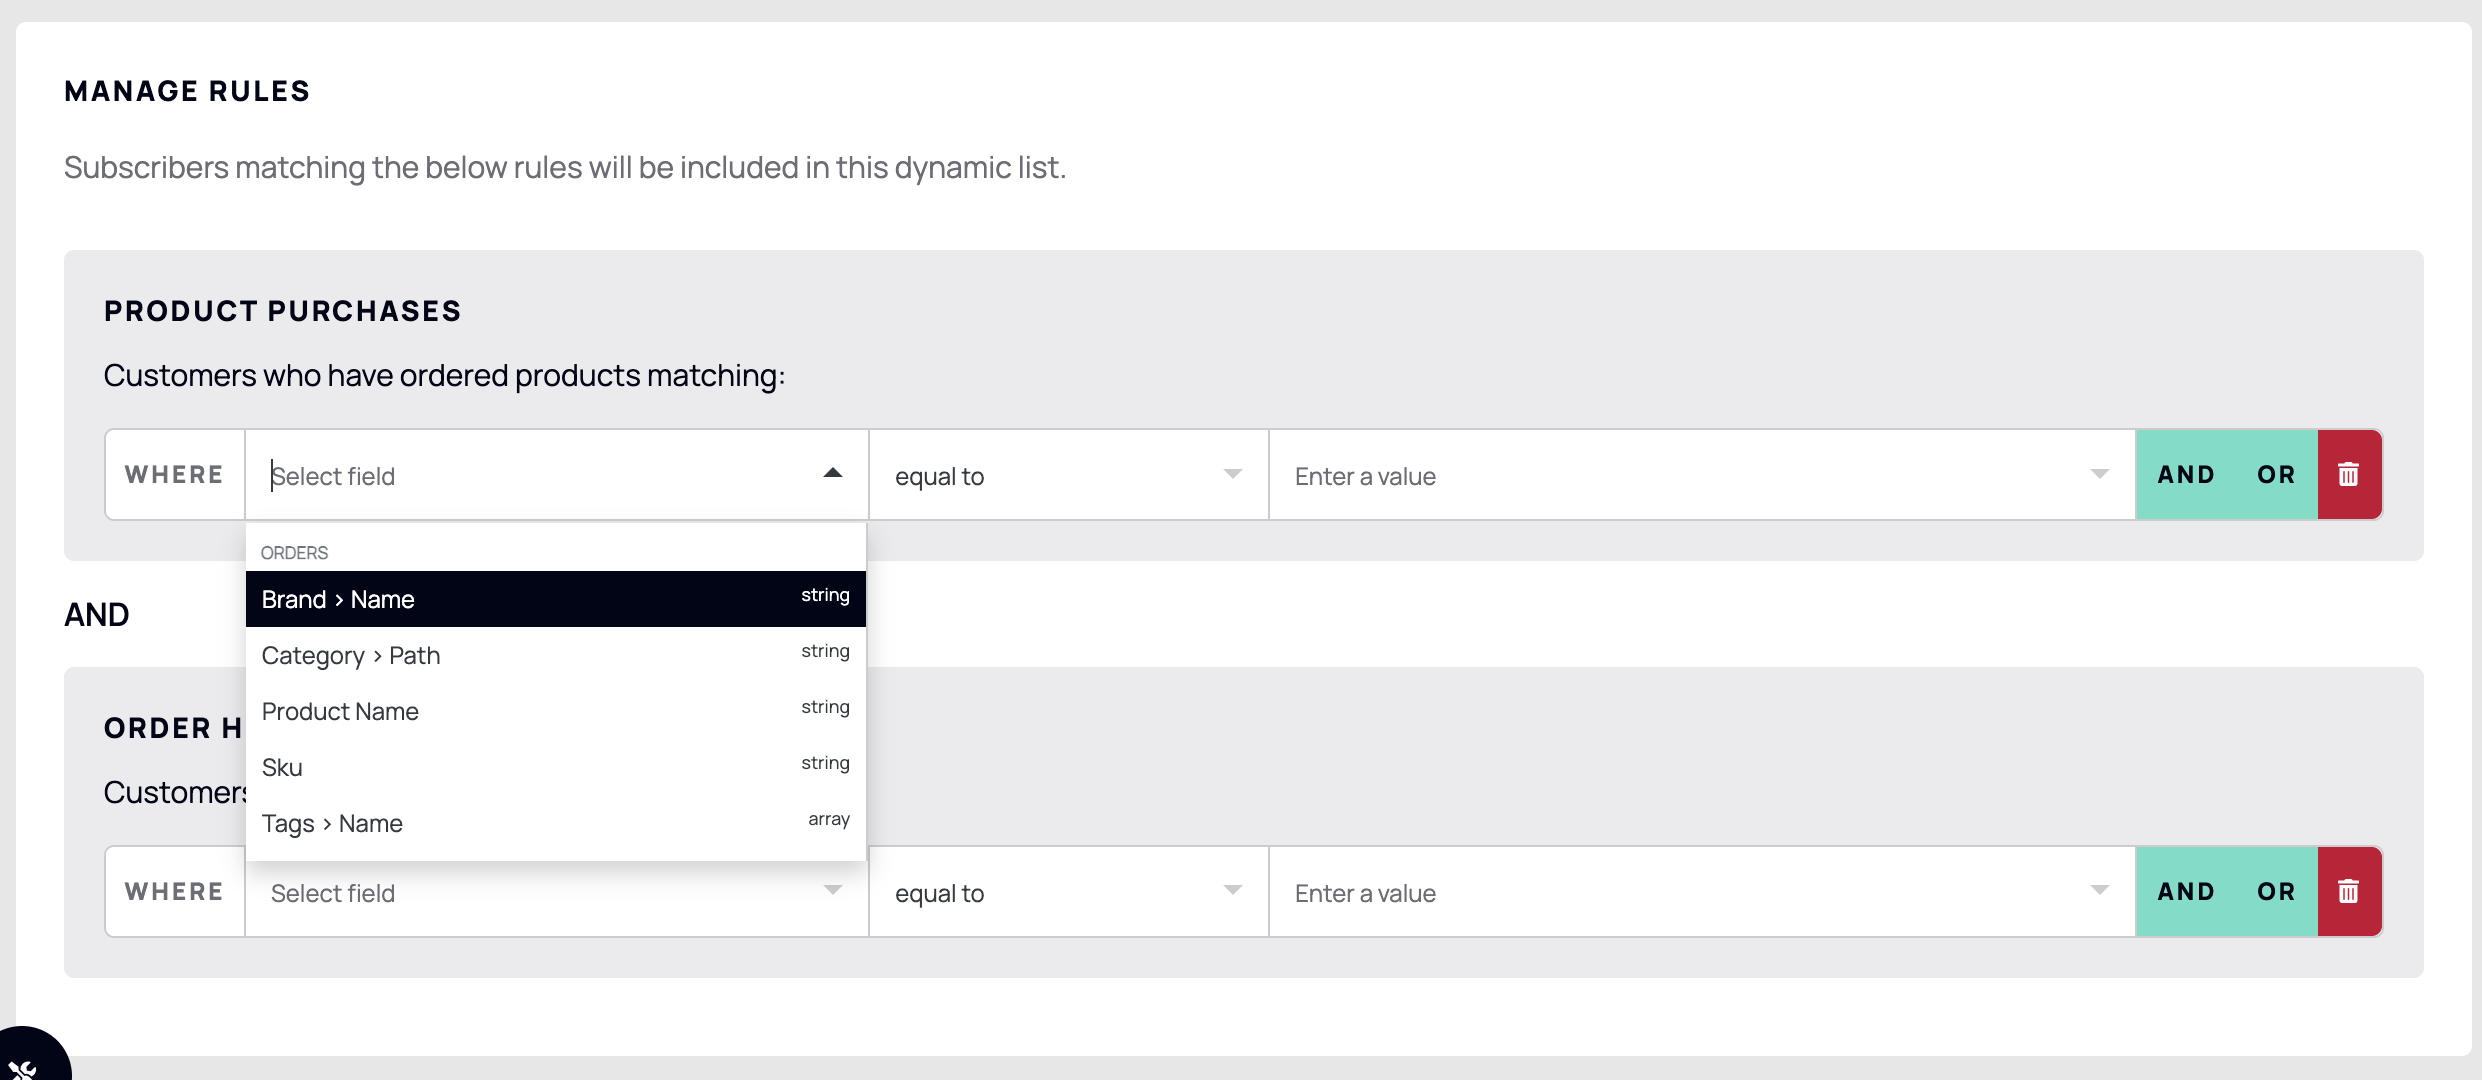
Order history rules for Dynamic Lists
Order history rules can use:
- Average order revenue
- Date of first purchase
- Date of last purchase
- Days since last purchase
- Total order revenue
- Total number of orders
Because these rules apply to customers who have already placed an order, their values must be positive. For example, a total orders rule must begin at one or more, rather than zero.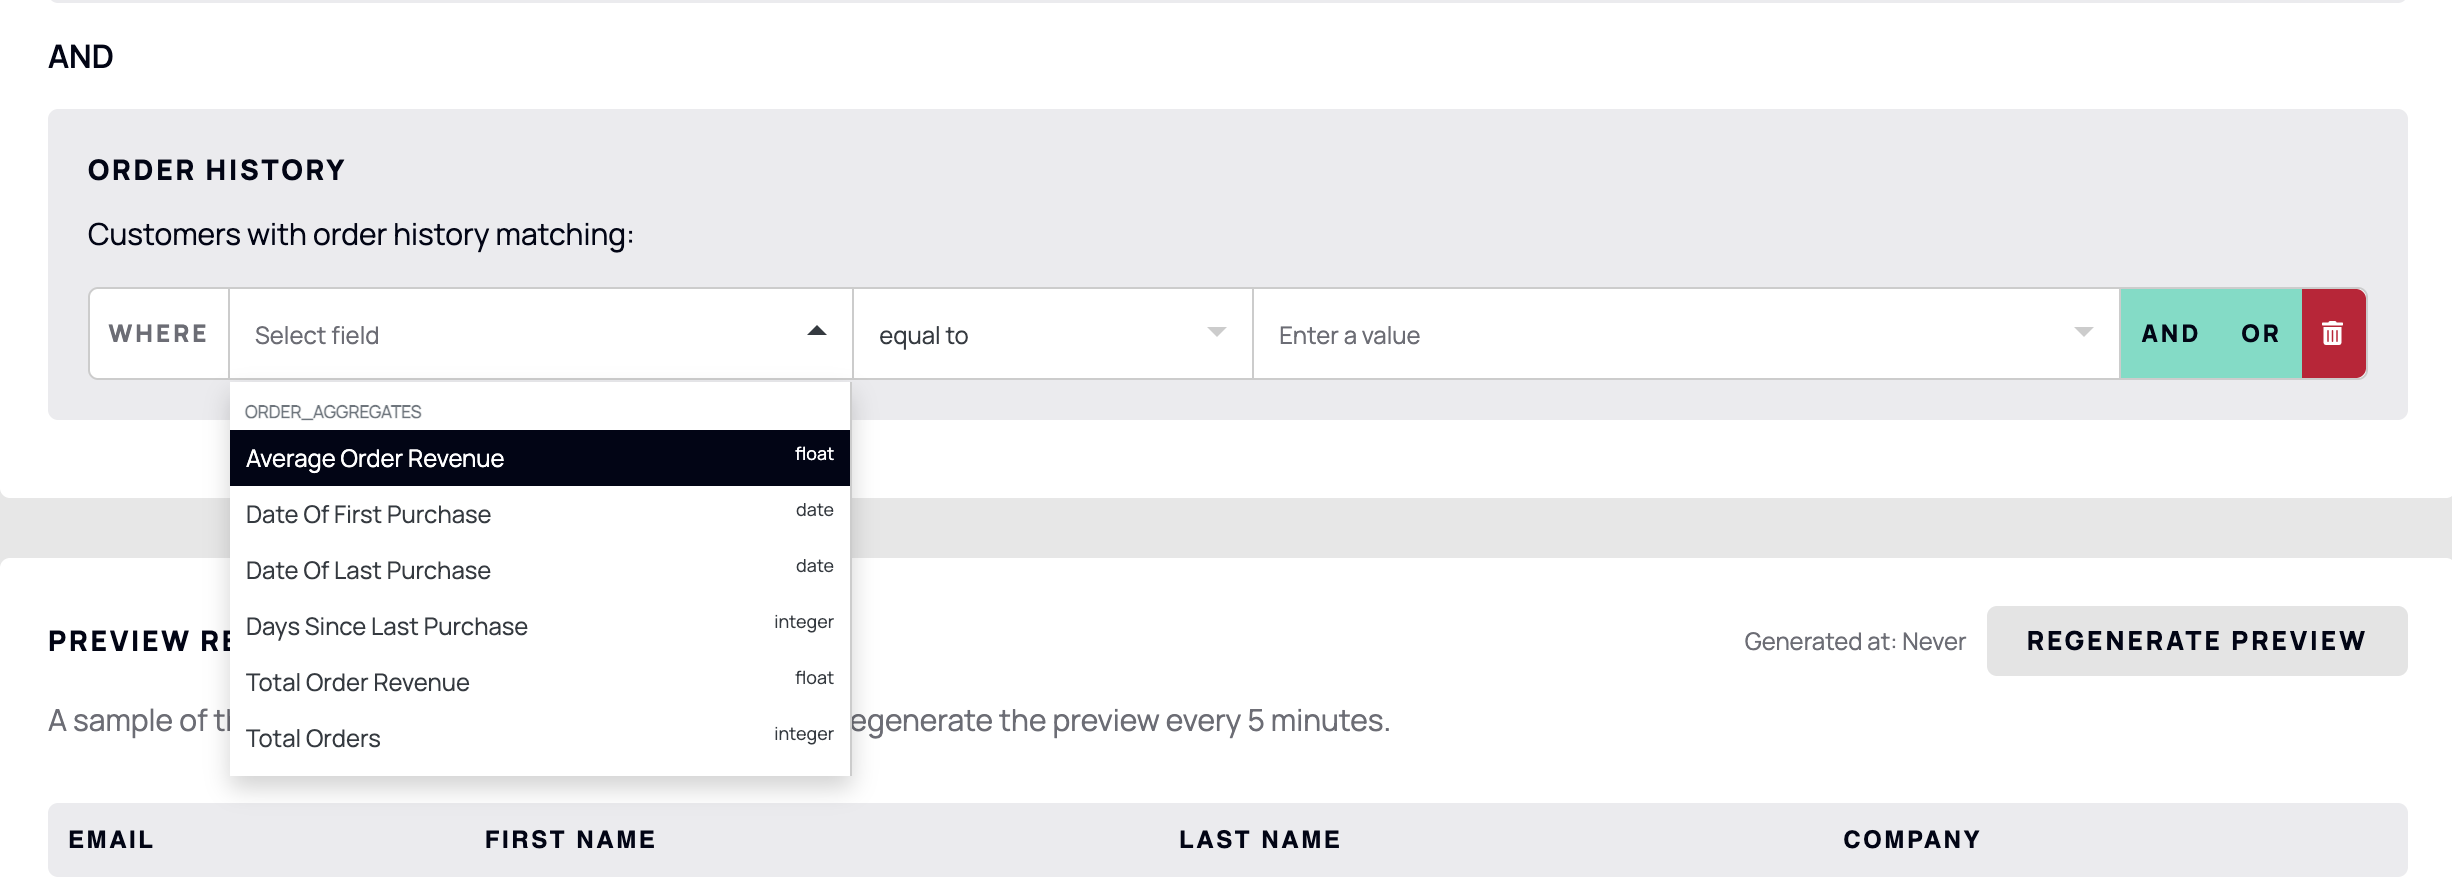
Combining rules
Rules can be combined to create a more specific audience. For example, you could find subscribers who:
- Bought a product from the Bolts & Screws category; and
- Have an average order revenue of at least £100.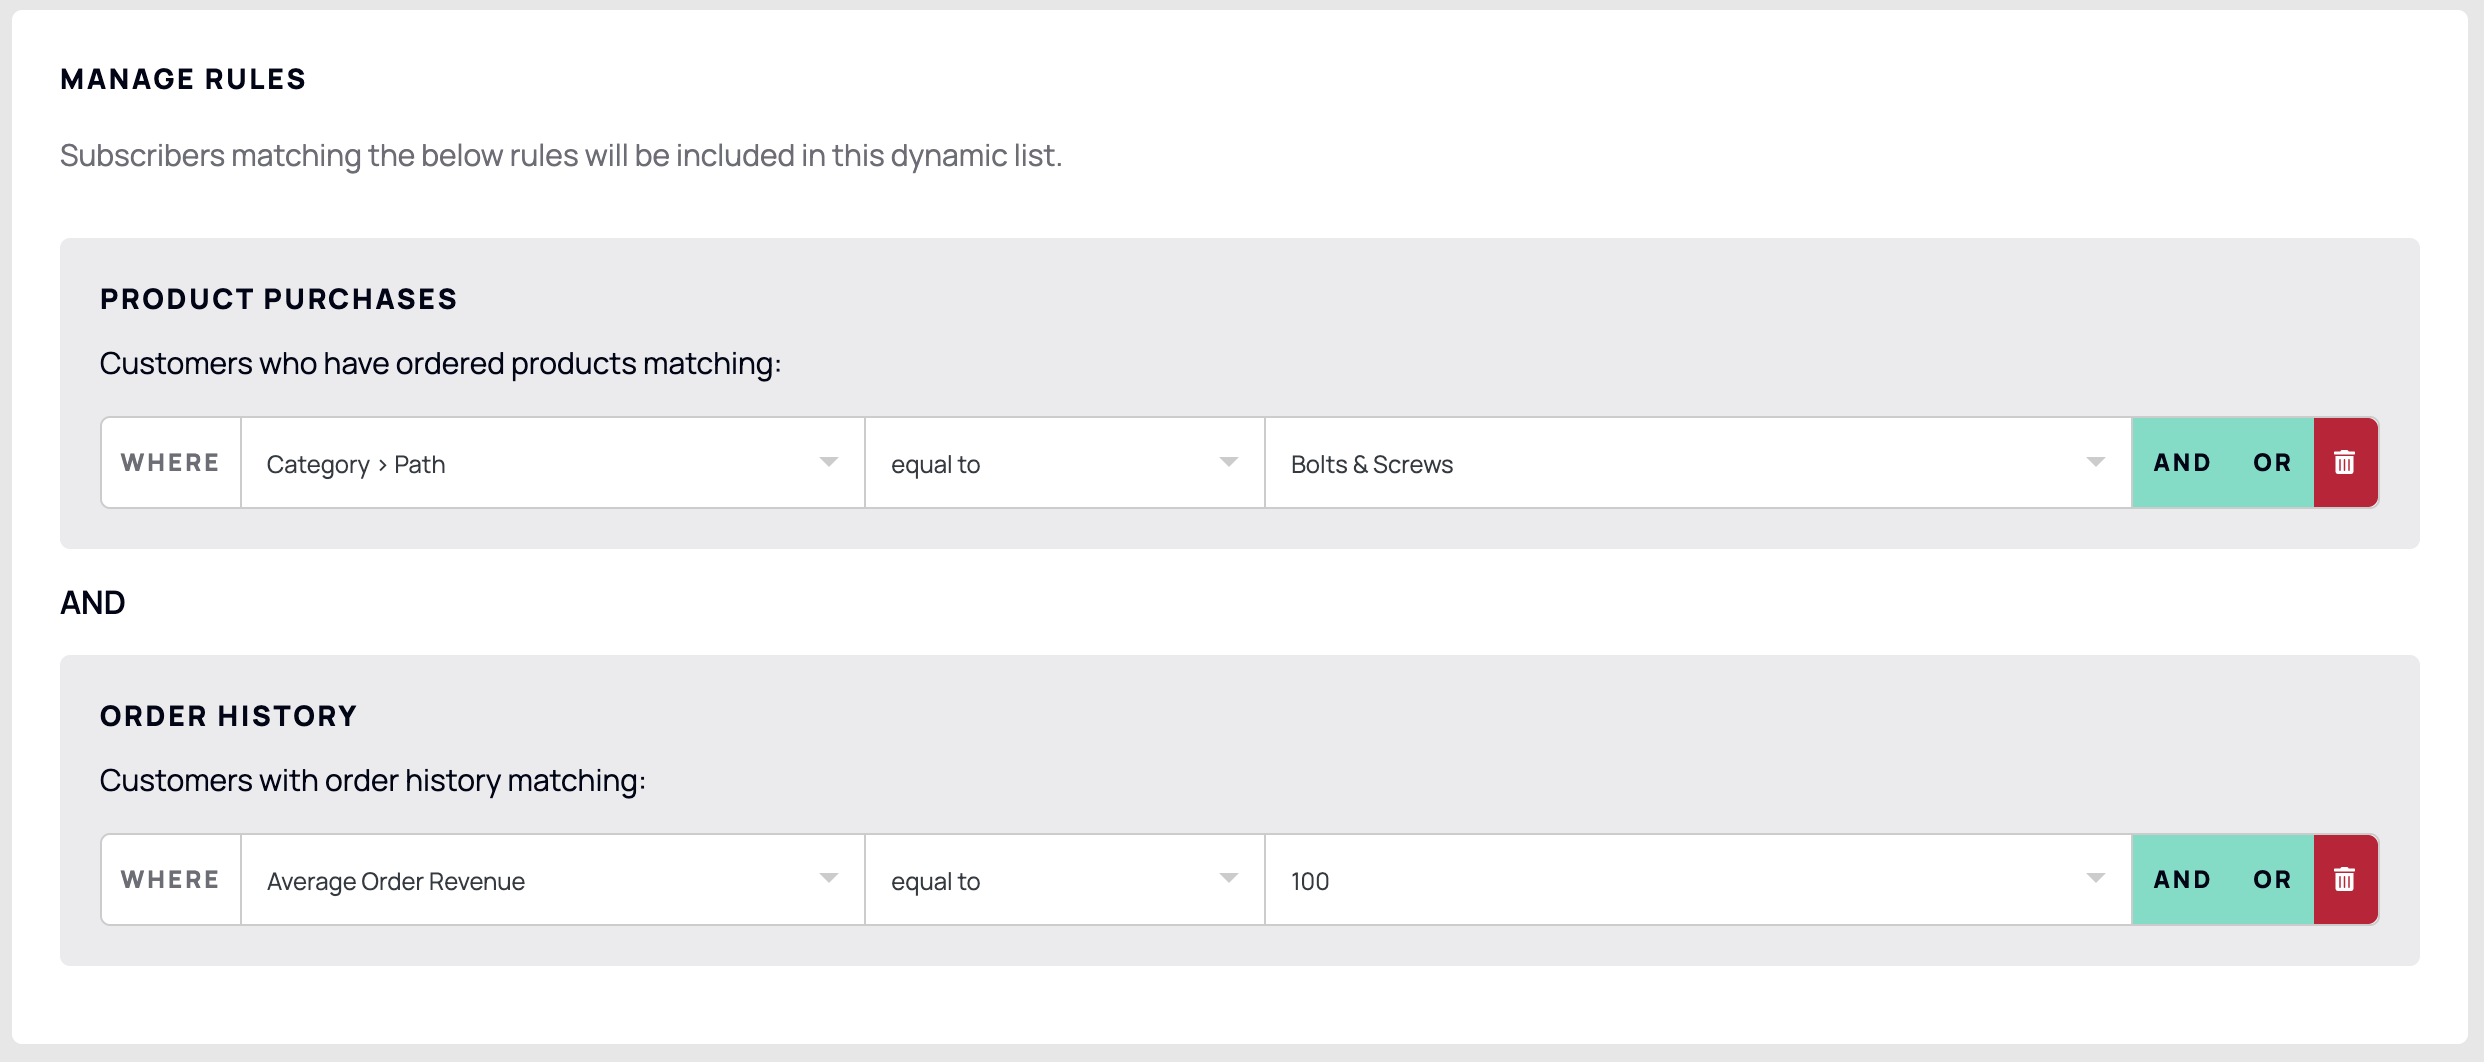
Previewing a dynamic list
Dynamic list eligibility changes as customer behaviour changes. A subscriber may qualify after placing an order or stop qualifying when their activity no longer meets the rules.
Generate a preview to confirm that your rules are finding the intended audience. A new preview can be generated every five minutes and displays the first 100 matching subscribers.
A preview is a check, not a fixed recipient list. When you use a dynamic list in a campaign, the final audience is calculated when you send the campaign.
Tips
- Use clear list names so that campaign audiences are easy to identify.
- Use static lists when you need a fixed, manually controlled group.
- Use dynamic lists when the audience should update with customer behaviour.
- Review imported contacts carefully before choosing to send a welcome email.
- Preview dynamic lists before using them in a campaign.