
Understanding campaign sending
The Campaigns area shows your domain reputation and hourly sending limit. Campaigns are paced according to these values instead of sending to the entire audience at once.
This pacing helps protect email deliverability. As a result, a campaign with a large audience may take some time to finish sending.
Creating a campaign
To create a campaign:
1. Open the Email Marketing Plugin.
2. Navigate to Campaigns.
3. Create a new campaign.
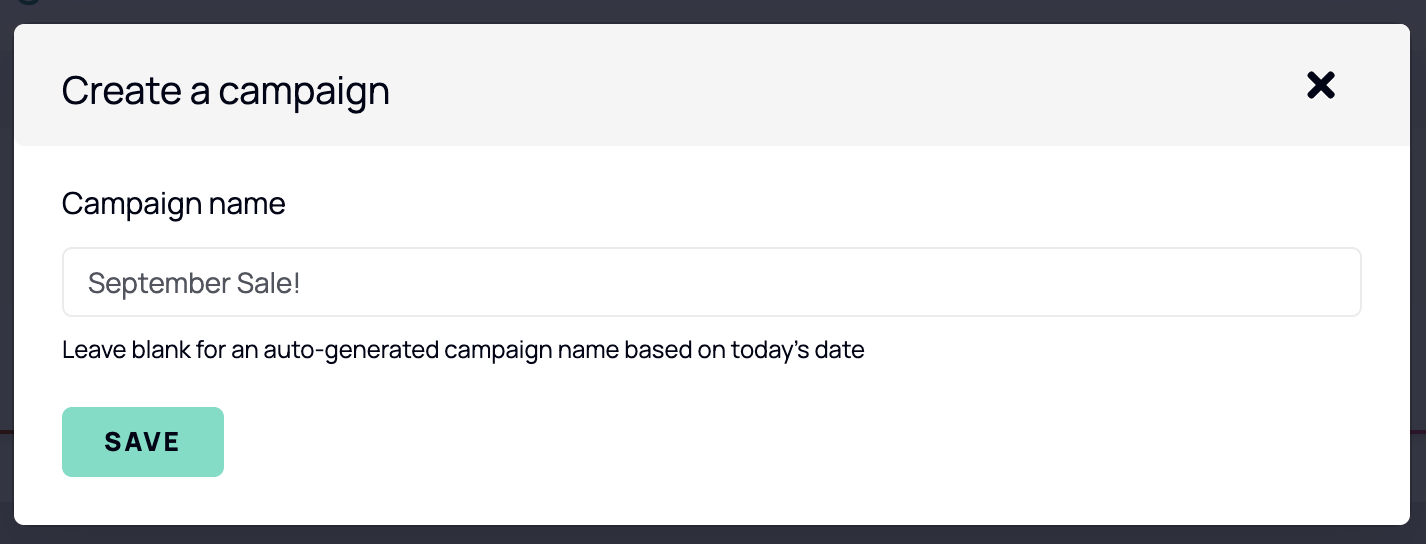
4. Enter a descriptive campaign name.
5. Save the campaign.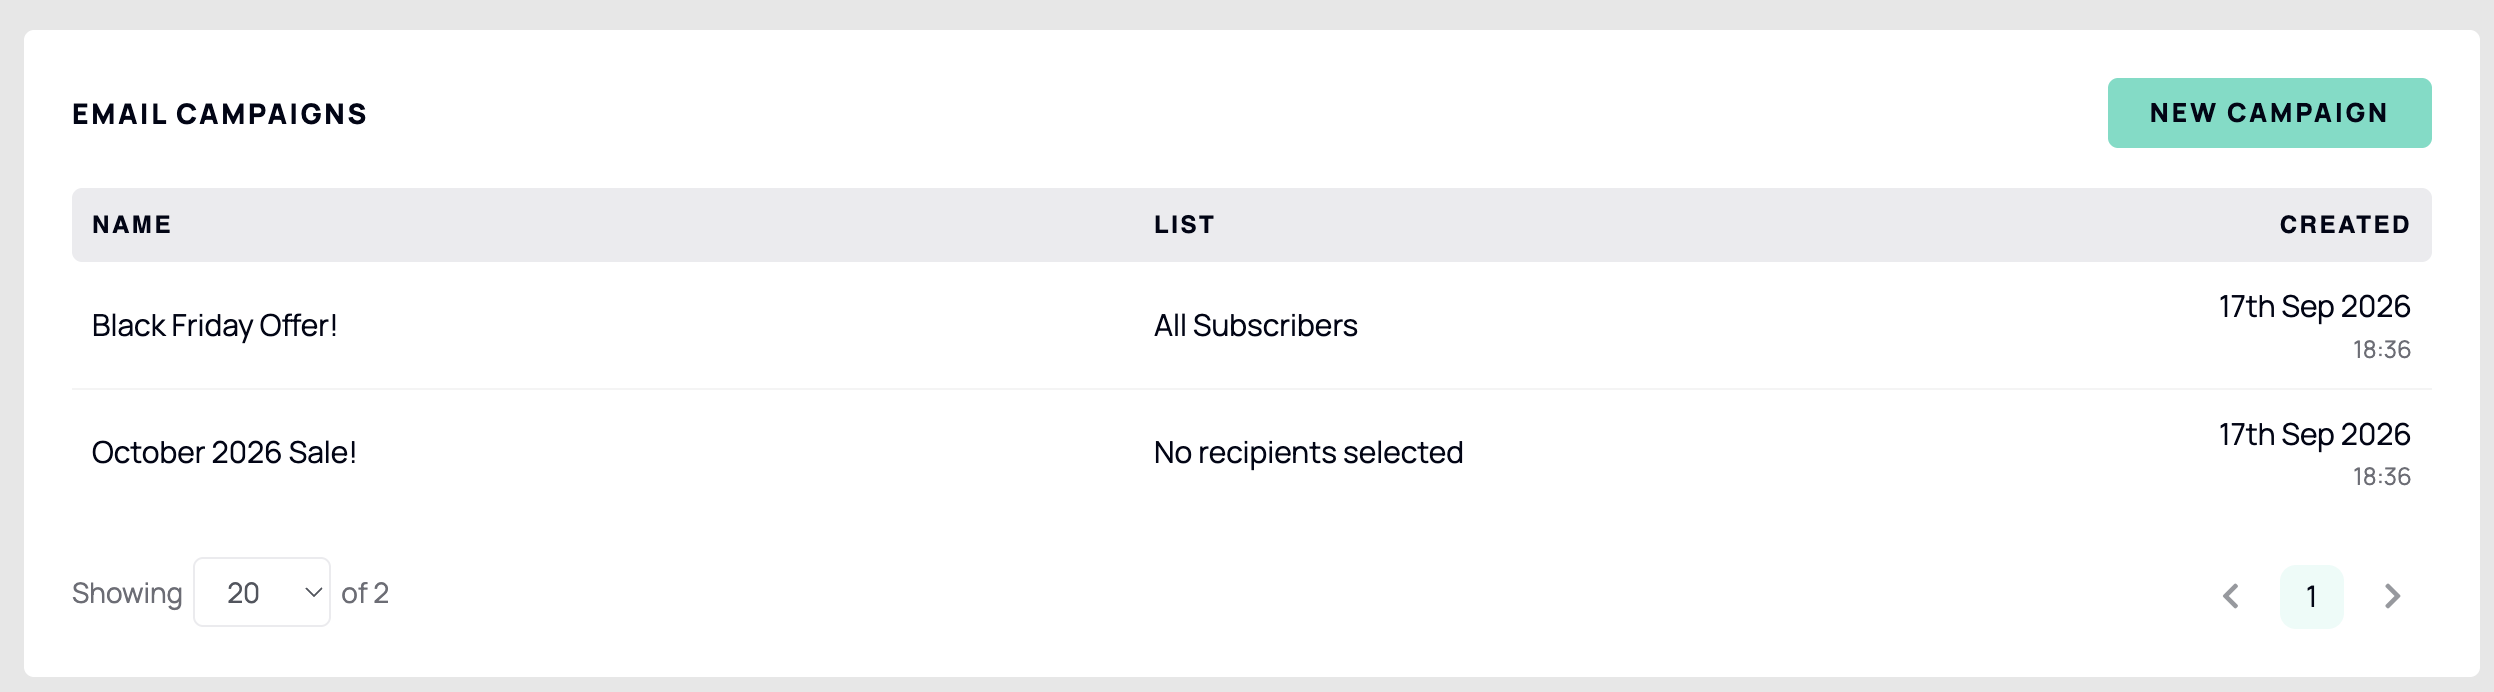
Configuring the campaign
Complete the campaign configuration by entering:
- Subject line
- From name
- From email
The sender fields use the defaults saved in the Email Marketing Plugin settings, but they can be changed for an individual campaign.
If you have already created a discount using Fortis, you can attach it to the campaign. Refer to the Fortis tutorials for more information about creating discounts.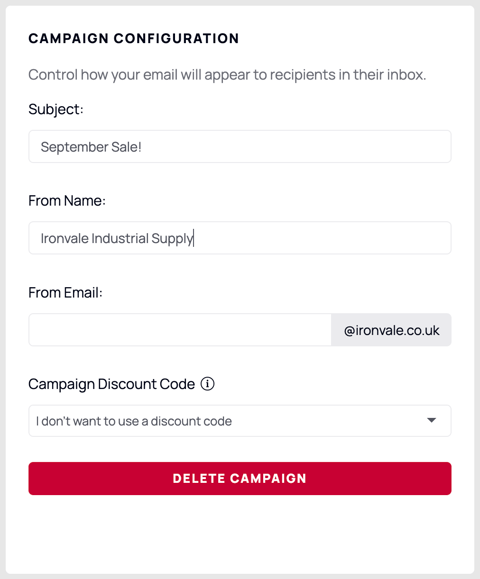
Creating the email design
Build a new design or select an existing email design for the campaign.
1. Open the campaign's email design.
2. Build the content or select an available design.
3. Review the layout, links and campaign content.
4. Save the design.
Sending options remain unavailable until both the campaign configuration and email design are complete.
Sending a test email
Before sending the campaign to subscribers, send a test copy to yourself.
Check:
- Content
- Links
- Discount details
- Layout
- From name and From email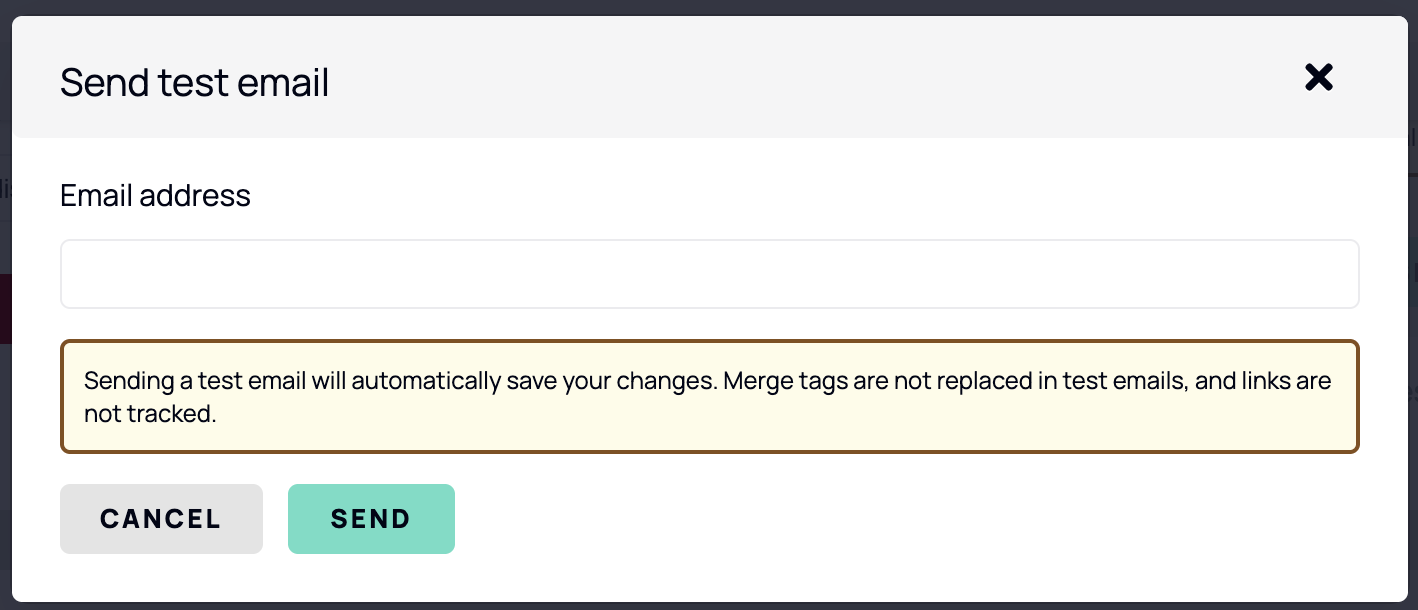
Choosing recipients
You can send a campaign to:
- All subscribers
- A static list
- A dynamic list
The audience is selected within the campaign and can be changed until you send it.
If you select a dynamic list, the final audience is calculated at send time. This ensures that the campaign uses the latest subscriber and customer behaviour instead of an earlier preview.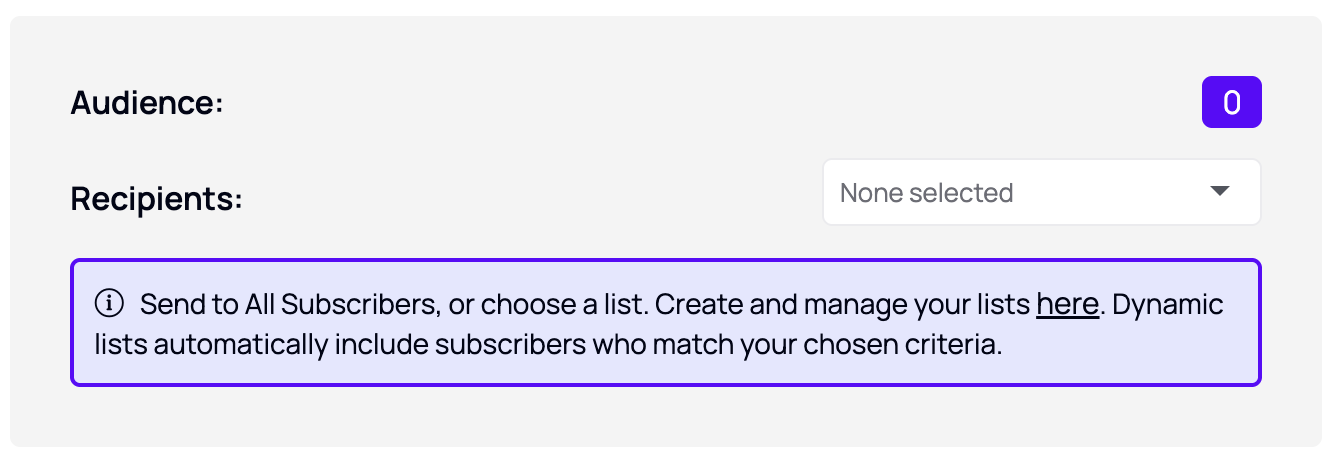
Sending immediately
To send the campaign now:
1. Confirm that the configuration and design are complete.
2. Send and review a test email.
3. Select the intended recipients.
4. Choose the option to send immediately.
5. Complete the send action.
Sending will be paced according to the domain reputation and hourly sending limit shown in the Campaigns area.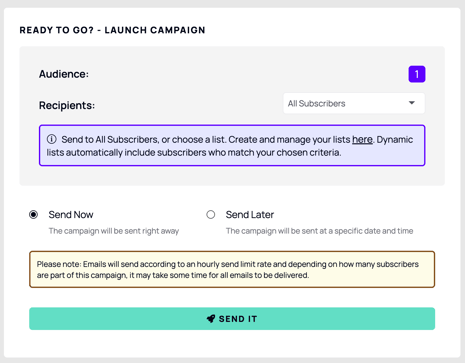
Scheduling a campaign
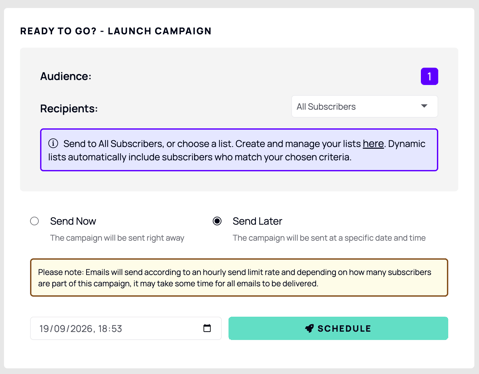
To send the campaign later:
1. Confirm that the configuration and design are complete.
2. Send and review a test email.
3. Select the intended recipients.
4. Choose the scheduling option.
5. Set the required date and time.
6. Schedule the campaign.
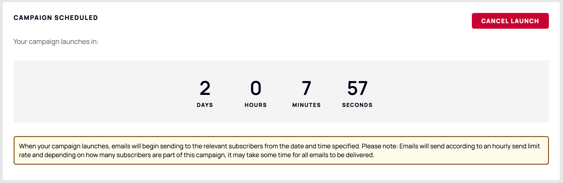
If you need to make a change, cancel the scheduled send, edit the campaign and schedule it again.
Reviewing campaign performance
After the campaign has been sent, open its reporting to review delivery and engagement analytics for that campaign.