
How do I check my Email Dashboard?
The Email Dashboard gives you a top level view of your notification email activity, so you can see how many emails are going out, and whether any are failing.
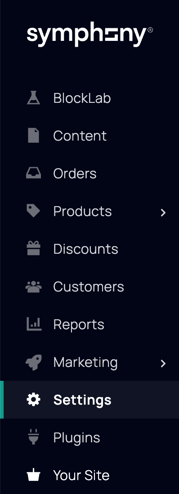
- Go to Settings.
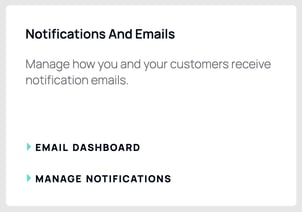
- Click Email Dashboard.
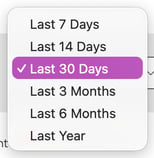
- Use the date range dropdown, top right, to set how far back you'd like to look: Last 7 Days, Last 14 Days, Last 30 Days, Last 3 Months, Last 6 Months, or Last Year.
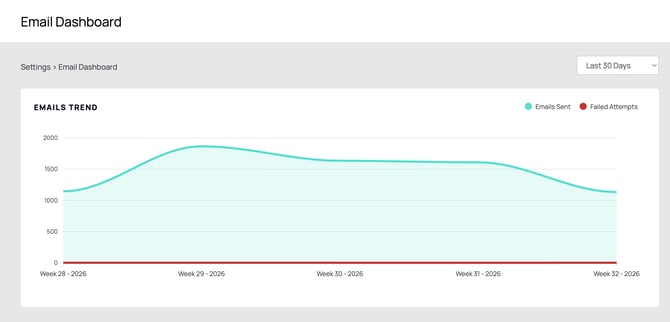
The Emails Trend chart plots Emails Sent against Failed Attempts over your chosen period, making it easy to spot any spikes or drops at a glance.
Further down, Failed Emails lists any notifications that didn't send successfully within that date range, along with the failure reason and when it happened.
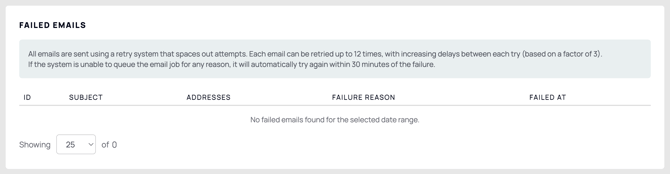
All emails are sent using a retry system, so a single failure isn't necessarily the end of the story. Each one can be retried up to 12 times, with increasing delays between attempts, and if the system can't queue the email at all, it will automatically try again within 30 minutes.
How do notifications work?
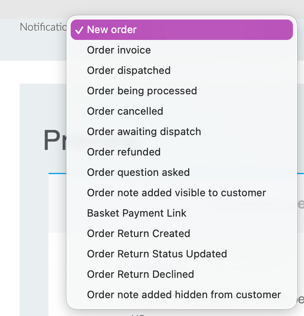
Every notification is tied to a specific event, for example New order, Order dispatched, or Order refunded. Each one can independently notify you, the customer, or other people entirely, so you're never limited to an all or nothing setup.
Some notifications come already configured. Order invoice, for example, is set up to go to the customer rather than to you, since it's their copy of the transaction. You're free to change this if it doesn't suit how you work.
Your designer will have set these emails up during your website build, so it's worth being mindful when making edits. Simple wording or copy changes are safe, but anything more structural is best left to someone with HTML knowledge.
How do I manage my notifications?
- Go to Settings.
- Click Manage Notifications.
You'll see a list of every notification tied to orders and forms, along with the Email Me, Email Customer, and Email Others columns, showing at a glance who currently receives each one.
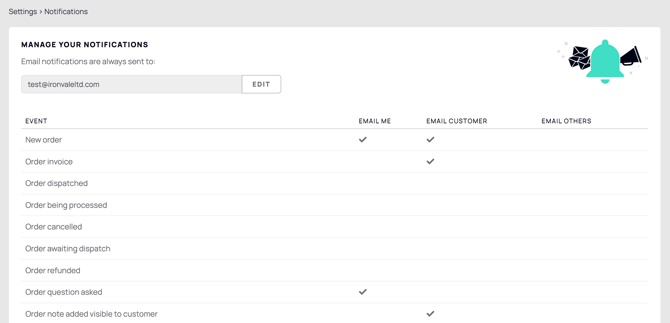
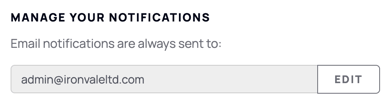
- Under Manage Your Notifications, click Edit to set your master email address. This address will always receive notifications, regardless of what's set for each individual event.
- Click into any notification, for example New order, to open its settings and customise it further.
How do I edit an individual notification?
Once you're inside a notification's settings, you'll find:
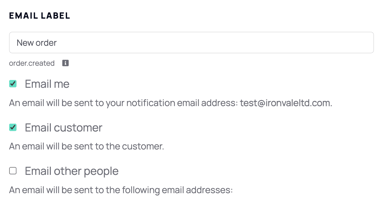
Email Label, the name used to identify this notification within the admin, along with its underlying event key, for example order.created.
Email me, Email customer, and Email other people, each with its own checkbox. Tick Email other people to reveal a field for adding extra addresses beyond your master email and the customer.
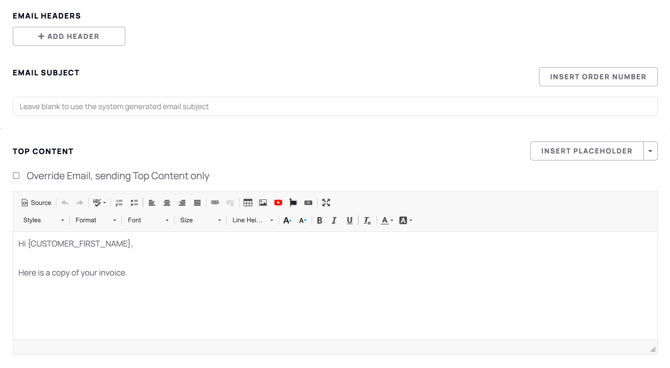
Email Headers, where you can add custom headers using Add Header, if needed.
Email Subject, where you can set a custom subject line, or use Insert Order Number to add it automatically. Leave this blank to use the system generated subject.
Top Content, the main body of the email. Use Insert Placeholder to add merge tags such as {CUSTOMER_FIRST_NAME}, or tick Override Email, sending Top Content only if you'd like this content to replace the entire email rather than sit within the standard template.
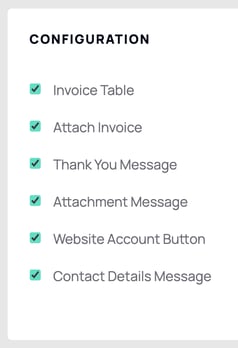
At the bottom of the page, you'll also find Configuration options specific to that notification. These vary depending on the type, for example Order Invoice includes extra toggles like Attach Invoice and Invoice Table that other notifications won't have.
How do I preview my notifications?
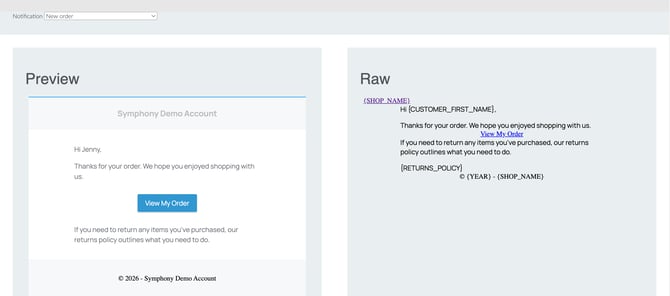
- From the main Manage Notifications page, click Preview.
- Use the Notification dropdown to switch between any of your notifications.
- Check the Preview panel to see how the email will look in a customer's inbox, or the Raw panel to see the underlying HTML and merge tags, such as
{SHOP_NAME}and{YEAR}.
How do I apply settings across all my notifications?
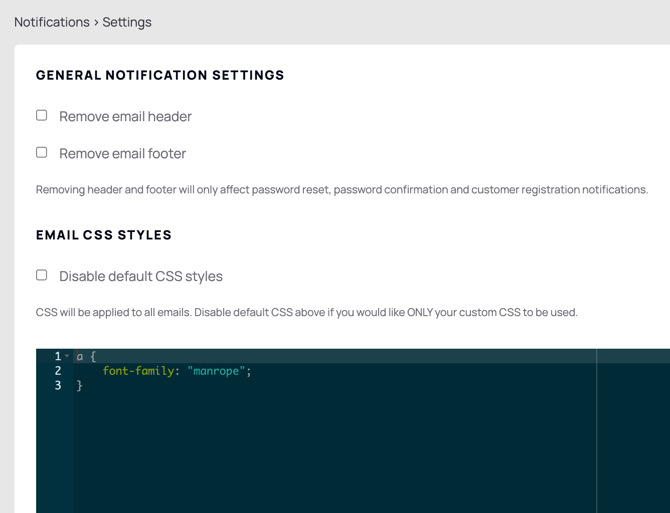
- From the main Manage Notifications page, click Settings.
- Under General Notification Settings, tick Remove email header or Remove email footer if needed. These two settings only affect password reset, password confirmation, and customer registration notifications, not order or form notifications.
- Under Email CSS Styles, tick Disable default CSS styles if you'd like your own custom CSS to apply instead, then add it in the box provided.
- Use Replace Default Email Header and Replace Default Email Footer to swap either for your own HTML. Both need to sit inside an HTML table and start with a
<tr>tag. Leave either blank to use the default, or click Reset to Default at any time to revert.
Tips
-
Simple wording or copy changes to your notifications are safe to make yourself, but anything structural is best left to whoever built your website originally.
-
Configuration options at the bottom of each notification depend on its type, so don't expect every notification to look identical.
-
Use Preview before publishing any changes, so you can check both how it displays to a customer and the raw merge tags behind it.