
How do Swatches work?
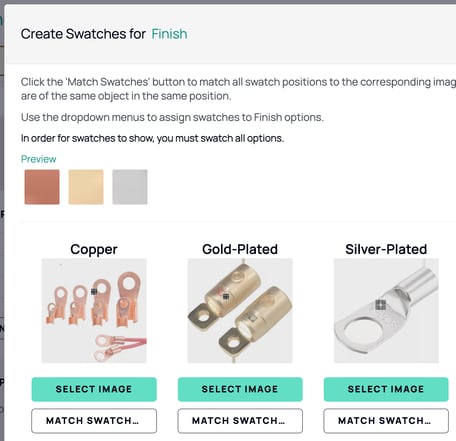
Swatches sit on top of your existing product options. If a product has an option with several values, for example a Finish option with Copper, Gold Plated, and Silver Plated, each value can be given its own swatch so customers see a small preview circle for every choice, rather than just a list of text.
How do I add Swatches to a product?
- Open the Symphony admin and click Products in the Admin Menu.

- Click into the product you want to update.
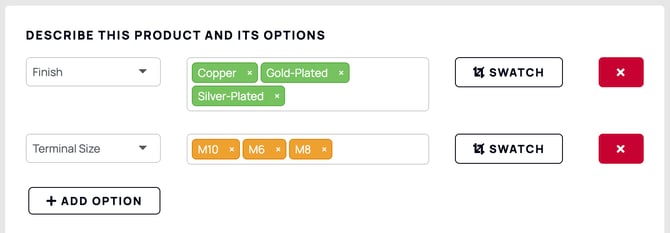
- Scroll down to Describe this product and its options.
- Find the option you want to add swatches to and click Swatch.
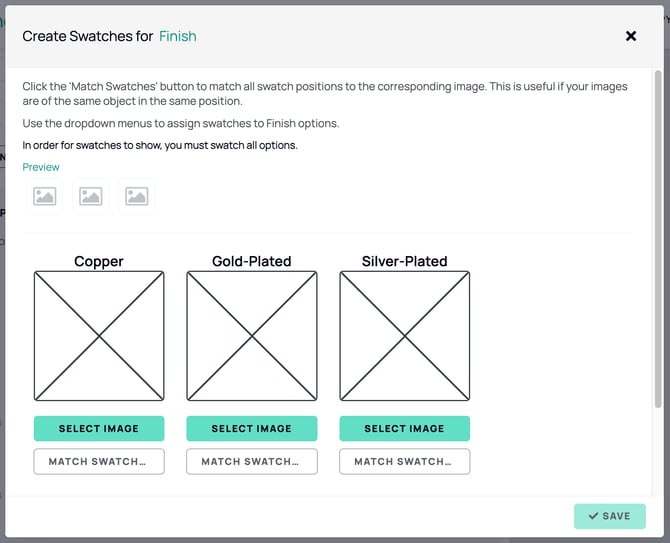
- In the Create Swatches window, click Select Image for each option value.
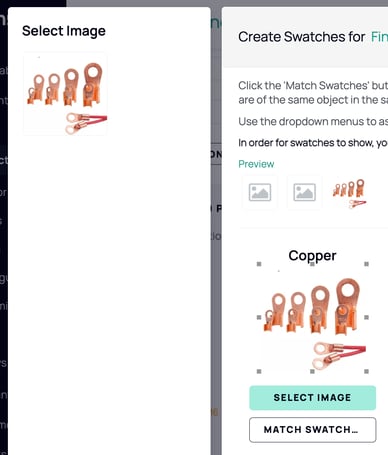
- Choose an image from your product images. If the image you need isn't available yet, close the window and add it first through the Images panel using Image Library, then come back and select it.
- Repeat until every option value has an image assigned. Swatches will not display on the product page until all values have one.
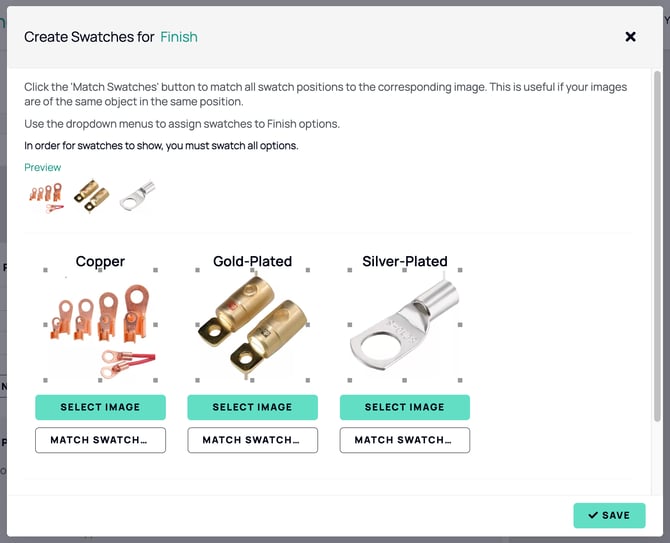
- If your images all show the same object in the same position, click Match Swatches next to an option to automatically line up its swatch with the corresponding image, rather than selecting each one individually.

- Click Save in the Create Swatches window.
- Save the product to publish your changes.
How do I make a swatch a solid colour instead of an image?
Rather than sourcing a separate plain colour image, you can crop into an existing product photo until it reads as one solid colour.
- In the Create Swatches window, select the image as normal.
- Grab the crop handles on the image and drag them inward, shrinking the selected area until only a solid block of colour remains, for example zooming right into the copper section of a ring terminal photo.
- Click Save.
Tips
-
Swatches only appear once every option value has an image assigned. If even one value is missing an image, none of the swatches for that option will show.
-
Use Match Swatches whenever your images already line up in the same order and position. It's much quicker than assigning each one manually.
-
If you're using cropped solid colour swatches, keep the crop consistent across every value so they read as a matching set on the product page.